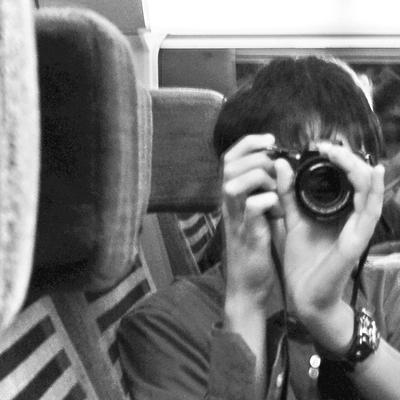
Hardware
For our shoot, we took a lot more than a camera, we used a:
- Canon Mini HD Camcorder – to film with
- Batteries – to power the camcorder
- Tape – to record our footage onto
- Tripod – to take most of the steady and high-angle shots
- Paglight – to illuminate any shots if necessary
- Shotgun microphone – to record dialogue and some sounds
- Headphones – to hear if the sound was good quality
Because we were using a digital camcorder, we had several options that we could change, e.g. shutter speed, white balance, etc. but when it came to our filming, there were only three that we really used:
- Auto-focus, which I used when filming the opening cutaway of the flowers in focus before the vase suddenly became to focal point.
- Manual-focus, we used this for several shots in our sequence when we wanted a shot to be blurry such as the shot of the back of the head at the beginning.
- Aperture, for most of our sequence, we kept our aperture setting low so that only a small amount of detail was in focus; so that they had a short depth of field.
Software
During post-production, we used the non linear editing software - Adobe Premiere Pro CS3 on two PCs:
Using my prior knowledge of the software, I was able to capture our shots, put them onto our timeline, order them and crop them down. However, for this project, I had to learn several new techniques in this software:
- How to create and customise titles – I created the Reverse Pictures logo in Premiere Pro by: linking two titles of ‘everse Pictures’ and a reflected ‘R’, adding a mirror effect to them and changing the opacity on them individually to make them fade out separately.
- How to customise effects – for example, for the dissolve shot of Dawn rocking, we had to slow one of the recorded shots down, make it overlap the other shot and change opacity to create a smooth dissolve.
- How to be selective with sound – most of the shots in our sequence were muted so when they cut to shots with that had sound, the static was obvious, as a result, we had to fade the sound in and out on every shot.
- When planning, consider how each shot has to be taken and if it’s possible to accomplish it. In our sequence, at 0:37, the shot was meant to be wider but we couldn’t because it was being filmed right next to the wall.
- Don’t be afraid to experiment if you have enough tape. The shot of our flowers was improvised; we did not storyboard it because we didn’t think of filming it in that was during the planning stage.
- When filming a shot, film as much of that as possible. In editing, it is a lot easier to work with shots that our too long as opposed to shots that don’t have enough footage to cut to. It will also give you more options for the final product.


